Used to do art, somehow my canvas turned into cakes... Still learning, and slowly developing so maybe one day it will be more than a hobby...

This blogg is here for me to share my hard earned knowledge about making and decorating cakes, cupcakes, cookies and cakepops. I am self taught, so I have therefore learnt the hard way. Hopefully you won't have as hard of a time. Good luck, and Enjoy! J.

Visar inlägg med etikett Sugarflowers. Visa alla inlägg

söndag 31 augusti 2014

Forever&EVER.


I shall call this one my SECOND first wedding cake. The reason? Well even though I loved making my first one, I flew out to Jersey near France for it. It was two friends of our getting married out there, and they preordered ready made blank cakes, that I would then decorate. I only had a carryon so I couldn't bring gum paste, or even half my tools. So it was one I made where it was the best I could do at the time with the restrictions (time and tools) that I had.  And considering all that, I loved that cake! 

This cake however, I had all my tools plus all the tools I had to get to make it. Like Sugarveil, Hydrangea cutters, edible pearl paint... Yeah, I felt like I had everything I needed, plus some extra's to play with. Loved it. And hope you love the result as much as I do.

My sisters happen to be very good at weddings. They know exactly what is needed to give you that extra oomph. They did my wedding 7 years ago, and I am still in awe of what they did with what they had to work with. They know where to be stingy and where to go all out. They know what details matter and which ones don't add that wow factor. They are pretty much awesome!

So this wedding of a family friend of ours ended up being a bit of a family affair. My sisters were the wedding planners, I made the cake and did the hair (I am also a hairdresser) and 3 of my nieces, my Mom and I helped with the serving and kitchen on the night. And let me tell you, we had a blast! I think we should start some sort of wedding or party planning service where everything is included. Yeah, I'm all for it. What is it they say?! Love what you do and you won't work a day of your life? Yeah, I think I would looove that :).

Anyway, so here is the cake. It has 2 different tastes. 
1. Chocolate sponge with a salted dulce de leche and Whipped cream cheese frosting layer, and a light chocolate mousse with chopped up hazelnut truffles layer.
2. Vanilla sponge with a vanilla bavaroise layer, and a lemon curd and  Lemon whipped cream cheese frosting layer. 

I am always worried that people will be disappointed in how it tastes even though I myself thinks it tasted amazing. But there were pleeeenty of people that expressed how much they loved it. And that they ate it even though they were completely full. I even had the wife of a guy come up to me and tell me that he normally never eats sweets but that he had basically licked the plate. So Yeah, I was chuffed. 

So happy with how it all turned out. Hope you like it as much as I do!

Enjoy!
-J.


SO Happy with how the flowers turned out!

This was the sketch I came up with. I'm not great at the sketching bit, but you get the idea ;-)


Forever&EVER.

lördag 1 mars 2014

Dessert Table Cake - My Birthday

 "Happy Birthday to meeeeee...."
"It's my birthday and I make my own cake if I want to..." I totally wanted to! What better than to make a Dessert Table Cake for me?! 
 
("Hjärtilycka till miiiiig..."
"It's my birthday and I make my own cake if I want to..." Och det ville jag verkligen! Vad skulle passa bättre än ett Dessertbordstårta till mig?!)


I'm not complaining or anything, but we are not rich. We don't have much but we are happy. The thought of making a dessert table like this in real life makes me sweat at the cost. So Naturally I thought why not make one in miniature form :-)?! What could suit a cake-enthusiast like me better?! 

(Jag klagar inte eller så, men vi är inte rika. Vi har inte mycket, men vi är LYCKLIGA. Tanken att göra ett helt sånt här bord på riktigt får mig att svettas med tanke på hur mycket det skulle kosta. Min första tanke var då att jag gärna skulle vilja göra ett "perfekt" dessertbord fast i miniatyrform. VAd skulle kunna passa en tårtfantast som mig bättre :-D?!)


 I need to highlight something that might sound like I am boasting, it might sound like I am trying to highlight how imperfect this cake is, or like I feel sorry for myself. But like I said earlier we don't have a lot of money, I have not been able to buy all the equipment that I would like. I don't have a beeding mould (For the beeding arround the cake), loads of flower cutters or ANY leaf cutters and veiners. I don't have one of those mats to thin the edges of the flowers and i don't have the color dusts to make the flowers "pop". What I want to say with this is that it is possible to make OK looking flower-arrangements without all the fancy gear! If you want them to look real, then yeah, this wont cut it, but for a cake like this, yeah just go for it!
  
(Nu vill jag uppmärksamma något som kan låta som jag tycker att jag är bra(O-jante), eller så låter det som jag vill uppmärksamma alla fel med tårtan, eller att jag tycker synd om mig själv. Men som jag sa förrut så har vi inte jätte mycket pengar, vilket gör så att jag inte haft råd att köpa en massa utrustning. Jag har inte en sån pärlform att få helt jämna pärlor runt tårtan, utan har fått rulla alla för hand, en och en. Jag har inte alla blomutstickare som igentligen krävs för ett sånt här blomsterarrangemang. Jag har inga blad utstickare eller veiners. ingen sån skummatta att tunna ut kanterna med, och inga färg "dusts" att borsta blommorna med för att få dem att "poppa". Vad jag ville säga med detta är att DET GÅR ATT GÖRA HELT OKUTSEENDE BLOMSTERARRANGEMANG UTAN ALL UTRUSTNING!!! Om du vill att blommorna ska se verkliga ut, så duger naturligtvis inte mina metoder, men för en sån här tårta så funkar det ABSOLUT! SÅ SÄTT IGÅNG!)


-------------------------------------


My Sister-in-law and I
For my birthday I was surprised with a dinner out with my family. I am the youngest of 6 siblings in total and almost all of them were able to make it. It was great. Like GREAT. Amazing company, Crazy yummy food. And I even got dressed up. 
 :-D
My GORGEOUS sisters


(På min födelsedag blev jag överaskad med en middag på stan (Göteborg) med min familj. Jag är yngst av 6 syskon och nästan alla kunde komma. Det var SÅ kul. SÅÅÅÅÅ kul. Undebart Umgänge. Galet god mat. Och jag hade t.o.m. tid att piffa till mig :-)!)


My nephew, Brother, other Nephew and Niece (In that order)


Then a week later when my parents were back from Teneriffe we had a get-together where I was able to bring this cake with not just my siblings but with all my nieces and nephews on my side as well. I love having a BIG family!


The food... Oh the FOOOOOOD!!!!


(Sen en vecka senare när mina föräldrar kom tillbaka från en semester i Teneriffa hade vi en till liten fest dit jag tog med denna tårtan. Denna gången var det inte bara för mina syskon utan även för alla mina syskonbarn på min sida av famijen (Nick's är ju i England). JAG ÄLSKAR ATT HA EN STOOOR FAMILJ!)


MORE PICTURES AND DETAILS OF THE CAKE


ENJOY.
-J.


Post update: I tooooootally thought I had published this! Seriously, looking through my entry's and realizing I could not find this cake, shocker! So yeah here it is :-)!!! Also, I do now have a few of the things I mentioned above that I didn't, and it does make ALL the difference ;-)! Can't wait to get the rest! Xxx

Princess Barbie Cake - Ellie's 4th Birthday


(Smaller text is swedish translation - Svensk text i kursivt)
The cake - Princess or Barbie Cake


 So once again this entry is almost a year late. Ellie is now almost 5 and looks so different! Insane how fast the time goes. I finally found the cord for my camera to transfer the pictures so I can finally make an entry about this most wonderful day!

(Ännu en gång så skriver jag detta inlägg nästan ett år sent. Ellie är nästan 5 och ser helt annorlunda ut. Helt galet vad snabbt tiden går! Jag har äntligen hittat min kabel till min systemkamera, så nu kommer lite bilder från denna underbara dag.)

We had only lived in sweden for a few months and this is evident in the emptyness of our house. Ellie's room has NOTHING in it. Mainly because this is her bedroom and she has her playroom downstairs. It still looks so sad though. A little girls room should be filled! That's what we planned on doing with her birthday. There was no expense spare on this birthday(or at least in our eyes)! 

(Vi hade bara bott i sveirge i några månader och det märks på hur tomt vårat hus är. I Ellie's rum finns INGET. Mest för att hennes lekrum är på nedervåningen och att hon bara sover här inne. Men det ser ändå tomt ut. Tanken var dock att ändra på detta med hennes födelsedag. Här sparades inte på slantarna till denna födelsedag (vilket är ovanligt för oss)!)

Her main present was a bike, but anything we felt she needed to fill her days with activity we got. we aren't the type to spoil our kids on an everyday basis. Ellie won't just get something  because we would like to get it for her. We usually wait for birthdays and christmas to spoil. 

(Hennes stora present var en cyckel, men vi köpte även allt annat som kunde fylla hennes dag med aktiviteter. Vi är inte de som skämmer bort våra barn i vardagen. Hon fårn inte allt hon pekar på kan man säga. Vi väntar istället på födelsedagar och jul...)

We want her day to be special. And I think this day was great for her. Starting with present opening in the morning....

(Vi ville att hennes dag skulle vara speciell. Och jag tror att denna dagen blev underbar! Den började med presentöppning på morgonen...)


 So the day before I finished as much as I possibly could. Like the cake. Her very lovely princess-cake. It was a white velvet sponge coloured into Ombre shades of pink. It was filled with vanilla Swiss meringue buttercream and raspberry curd and lemon curd. 

(Dagen innan gjorde jag så mycket jag bara kunda så att jag kunde fokusera på Ellie på hennes födelsedag. Jag gjorde t.ex. hennes princess tårta. Det var en White velvet tårtbotten färgad till rosa i olika toner för att få en ombre effekt. Den var fylld med Swiss Merigue buttercream och halloncurd och citroncurd.)

Anyone who has followed what I do when it comes to cakes knows by know that I tend to do the... stupid... the over the top... the time consuming... and this cake was no different. sitting with tweezers putting clusters of 3 sprinkles on the cake... took approximately 2 hours!!!
(Alla som har följt det jag gör vet vid det här laget att jag har en tendens till att göra det som inte behövs.. bara det tar tid och blir detaljerat typ... Jag vet jag är tokig. Även denna gången gjorde jag det. Att sitta med en pincett och sätta fast små strösselkulor en i taget för att skapa en liten samling av 3 pärlor... ja, det tog mig 2 timmar bara det...)

Here are some pictures of The dessert table I made. On the dessert table I had the princess cake (barbie cake), cakepops with the taste of "Ballerina Kladdkaka" (a brand of cookies in sweden) and chocolate balls (Swedish kiddy nobake classic), Chocolate cupcakes filled with lemon curd and with a white chocolate buttercream, Swedish crumbly sugar cookies (drömmar) and vanilla panacotta with lemoncurd topping. I also had a raspberry lemonade as a beverage.
(Här kommer bilderna på dessertbordet jag gjorde för kalaset. PÅ bordet fanns tårtan(naturligtvis), cakepops med smak av ballerina kladdkaka(de rosa) och chokladbollar(de bruna), chokladcupcakes med lemoncurd fyllning och vitchokladfrosting, hemmagjorda drömmar, vaniljpanacotta med lemoncurdtopping och hallon lemonad som dricka.)   


The dessert table - sorry I don't have better pictures!

The Princess cake/Barbie cake

Princess cakepops, Her Highness Cupcakes, Princess cookies


Princess Cakepops  and Raspberry Lemonade

The coveted goodiebags - folded from wrappingpaper!
My first pompoms! Not all that easy to make! Not at all!!

I use "pxlr" to edit my photos, and I used the same program to create the little tags on everything. The names on the goodiebags, and the little tags by each dessert. picked a pink polkadot background that I saved from the internet as a picture. I then edited it with the free shapes and images within the pxlr program. Pxlr is free online. Just do a search in google and I use the express version.

(Jag använder "pxlr" att redigera mina bilder, jag anväänder även det programmet för att göra alla små brickorna du ser på allt. Även namnen på godispåsarna. Jag valde en vit och rosa prickig bakgrund som jag sparade som bild. Sedan redigerade jag den bilden med alla gratis bilder och former som finns i pxlr programmet. Pxlr är gratis på internet, du behövr bara söka i google. Jag använder "express" versionen.)


Her Highness in all her glory :-)!


This was officially the Pink Fluff Party :-D!!!!


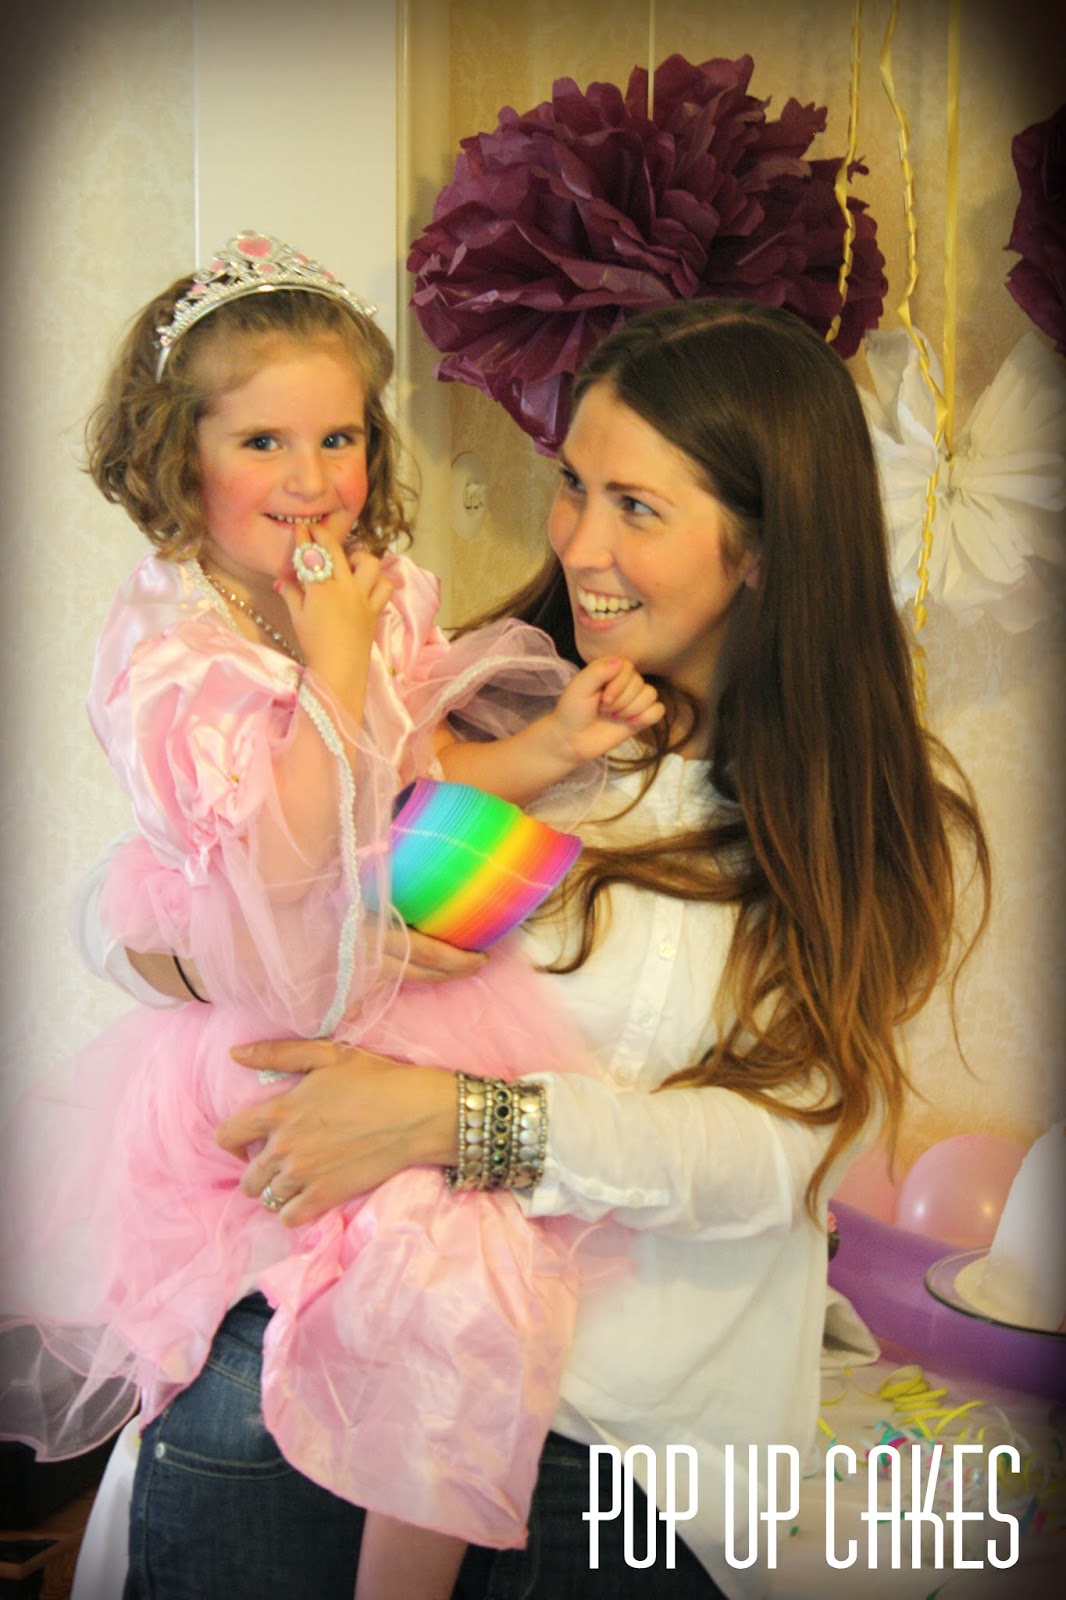
Me and my pink fluffprincess ;-)
Cut opened to give the surprise ombre effect! It gave the awaited "ooo" effect ;-)


Enjoy.
-J

tisdag 28 januari 2014

Baby-Quilt Cake.


Baby-Quilt Cake.

After much deliberation and pinterest research for inspiration(my lifeline, as I'm sure it's yours), I turned to my box of patchwork cutters and found a baby blanket cutter! 

My initial idea was to just cover part of the cake with the blanket, like draped over it or something, but once I started actually covering it... I realized I wanted the FULL effect! 


The cake itself is an american style chocolate cake. Filled with a whipped cream cheese frosting and Dulce de Leche(made from scratch). I plastered it with vanilla buttercream and used a THIN marshmallowfondant-"lid" that I could "glue" the patches on to. You can find all the recipes in the menu to the right!

I started by making the sponges and the dulce de leche. I made the sponges a week ahead of time, I wrapped it tightly in cling film after completely cooled and put it in the freezer (makes it easier to carve through the middle when you take it out). The dulce de leche is good in the fridge for up to a month so you can make that whenever(how anyone has been ABLE to keep it for that long without eating it by the spoonful I do not know.. total mystery!!).


I then went ahead and made the flowers and leaves (tutorial to come).


2 days before "delivery" I make the filling and buttercream that will cover the cake or as we say in Sweden: the "plaster". I also will take out the sponges and once slightly thawed I cut through the cake creating 3 separate cake layers or 2 filling layers (hope you get what I mean). I take the top piece of sponge and use it as the bottom upside down, pipe a wall of buttercream around the edge and spread the middle with a thin layer of dulce de leche and fill the rest with the WCC-frosting, add the middle layer of sponge and repeat the process. The reason you turn the sponge upside down is that you get a nice flat top and nice sharp edges as a canvas for your buttercream.


I then "plaster" the cake I will soon have a blogg entry on how to do this to get the best, sharpest flattest, most gorgeous edges ever! By first crumb-coating it and then adding the desired amount of plaster.


I will also have a blogg entry on how to cover with marshmallow fondant. On this cake I covered with a very thin layer as I was going to add a second layer in the form of the patches, and you don't want an extremely thick layer of fondant. 


I then stacked the cake, using doweling and thin plastic cake sheets to separate. I will also try to give you a tutorial on how to do this.

Once all this was done I could finally start with my favorite part... The DECORATING! The colors I used to color the patches was wiltons royal blue, golden yellow, pink as well as sugarflairs holly green.

I had to play around a bit with how I wanted the patches to look. Did I want random sizes, perfect squares, or like I ended up doing pieces that started big and got smaller with each tier.

Now I am not an organized person and if I was to do this again I would certainly plan ahead a bit more and partition around the cake into 12 equal sized sections (not hard to do so I don't know why I didn't). Somehow I still managed to fit in relatively same sized pieces. I rotated the colors: pink, blue, yellow and green.  Then on the next layer I moved the color over one step, as seen on the pictures. The pieces that merge the tiers together had to be narrowed slightly which there is no way of explaining how I did this, as I did it by eye (so good luck;-)). All I can say is to keep trying to fit each piece, if it's not perfect it's ok, there will be stitches that can cover if there are small gaps. This is how I continued the whole way up until I go to the top where I patched it with 4 equal sized (one of each color) triangles to create a round circle-patch on top. 

I used a pizza cutter to cut out the patches and simply brushed water to stick them to the the fondant layer already on the cake.

If you want to use patchwork cutters the way I did with the blue patches make sure you use the stamps before the patches dry. This is something i did not do and regretted it, as some of the pacifier did not come out properly.

Another thing I would do different next time I make a similar cake is to decorate the patches before you add the stitching. I did the reverse and I therefore have gaps and inconsistencies that I otherwise would not have... had i done it correctly.

How I decorated each "fabrik"

Blue: I used a pacifier shaped patchwork cutter to stamp a pattern on the cake.
Pink: using paste colors and water (i would use vodka next time) I hand painted little flowers with stalks (would probably skip the stalks next time for this pattern) - I will make a tutorial on how to hand pain these flowers as well. 
Green: I cut out white heart shapes sticking them to the patches evenly, then piping dots between each heart
Yellow: I hand painted these lines with a thin brush and paste color and water. Next time I would use a ruler of some sort to make the lines straighter.


I simply used royal icing to pipe the stitches, starting with the cross-stitches in the corners and then just added as many stitches as possible between them. The more detailed the more realistic :-).

Binding the flowers in my desired arrangement with the wire I then stuck them to the cake with a small patch of royal icing so that they wouldn't move and fall off while transporting it.


For once I had time to photograph.


I rarely EVER have time for this and after these photos I realize that it has made ALL the difference. Taking a picture with my kitchen from the 1930's as a backdrop will NEVER do again! And also, I really hope that I can keep this snow for a while, or more if possible... I LOOOVE the contrast! I even like the contrast of the grey of our concrete stairs leading up to our house, with the brightness of the cake. Love it.


I really hope you have gotten inspired to try a quilted cake! It's time consuming, yes. But so worth it! In spite of all the issues I see with the cake (trust me there are hundreds) I am happy with it. The response i have gotten from it has been amazing and something i never could have imagined!


Thank you guys for reading my little inspirational blog, and my personal recipe-book!

ENJOY
J.