Used to do art, somehow my canvas turned into cakes... Still learning, and slowly developing so maybe one day it will be more than a hobby...

This blogg is here for me to share my hard earned knowledge about making and decorating cakes, cupcakes, cookies and cakepops. I am self taught, so I have therefore learnt the hard way. Hopefully you won't have as hard of a time. Good luck, and Enjoy! J.

lördag 1 mars 2014

Dessert Table Cake - My Birthday

 "Happy Birthday to meeeeee...."
"It's my birthday and I make my own cake if I want to..." I totally wanted to! What better than to make a Dessert Table Cake for me?! 
 
("Hjärtilycka till miiiiig..."
"It's my birthday and I make my own cake if I want to..." Och det ville jag verkligen! Vad skulle passa bättre än ett Dessertbordstårta till mig?!)


I'm not complaining or anything, but we are not rich. We don't have much but we are happy. The thought of making a dessert table like this in real life makes me sweat at the cost. So Naturally I thought why not make one in miniature form :-)?! What could suit a cake-enthusiast like me better?! 

(Jag klagar inte eller så, men vi är inte rika. Vi har inte mycket, men vi är LYCKLIGA. Tanken att göra ett helt sånt här bord på riktigt får mig att svettas med tanke på hur mycket det skulle kosta. Min första tanke var då att jag gärna skulle vilja göra ett "perfekt" dessertbord fast i miniatyrform. VAd skulle kunna passa en tårtfantast som mig bättre :-D?!)


 I need to highlight something that might sound like I am boasting, it might sound like I am trying to highlight how imperfect this cake is, or like I feel sorry for myself. But like I said earlier we don't have a lot of money, I have not been able to buy all the equipment that I would like. I don't have a beeding mould (For the beeding arround the cake), loads of flower cutters or ANY leaf cutters and veiners. I don't have one of those mats to thin the edges of the flowers and i don't have the color dusts to make the flowers "pop". What I want to say with this is that it is possible to make OK looking flower-arrangements without all the fancy gear! If you want them to look real, then yeah, this wont cut it, but for a cake like this, yeah just go for it!
  
(Nu vill jag uppmärksamma något som kan låta som jag tycker att jag är bra(O-jante), eller så låter det som jag vill uppmärksamma alla fel med tårtan, eller att jag tycker synd om mig själv. Men som jag sa förrut så har vi inte jätte mycket pengar, vilket gör så att jag inte haft råd att köpa en massa utrustning. Jag har inte en sån pärlform att få helt jämna pärlor runt tårtan, utan har fått rulla alla för hand, en och en. Jag har inte alla blomutstickare som igentligen krävs för ett sånt här blomsterarrangemang. Jag har inga blad utstickare eller veiners. ingen sån skummatta att tunna ut kanterna med, och inga färg "dusts" att borsta blommorna med för att få dem att "poppa". Vad jag ville säga med detta är att DET GÅR ATT GÖRA HELT OKUTSEENDE BLOMSTERARRANGEMANG UTAN ALL UTRUSTNING!!! Om du vill att blommorna ska se verkliga ut, så duger naturligtvis inte mina metoder, men för en sån här tårta så funkar det ABSOLUT! SÅ SÄTT IGÅNG!)


-------------------------------------


My Sister-in-law and I
For my birthday I was surprised with a dinner out with my family. I am the youngest of 6 siblings in total and almost all of them were able to make it. It was great. Like GREAT. Amazing company, Crazy yummy food. And I even got dressed up. 
 :-D
My GORGEOUS sisters


(På min födelsedag blev jag överaskad med en middag på stan (Göteborg) med min familj. Jag är yngst av 6 syskon och nästan alla kunde komma. Det var SÅ kul. SÅÅÅÅÅ kul. Undebart Umgänge. Galet god mat. Och jag hade t.o.m. tid att piffa till mig :-)!)


My nephew, Brother, other Nephew and Niece (In that order)


Then a week later when my parents were back from Teneriffe we had a get-together where I was able to bring this cake with not just my siblings but with all my nieces and nephews on my side as well. I love having a BIG family!


The food... Oh the FOOOOOOD!!!!


(Sen en vecka senare när mina föräldrar kom tillbaka från en semester i Teneriffa hade vi en till liten fest dit jag tog med denna tårtan. Denna gången var det inte bara för mina syskon utan även för alla mina syskonbarn på min sida av famijen (Nick's är ju i England). JAG ÄLSKAR ATT HA EN STOOOR FAMILJ!)


MORE PICTURES AND DETAILS OF THE CAKE


ENJOY.
-J.


Post update: I tooooootally thought I had published this! Seriously, looking through my entry's and realizing I could not find this cake, shocker! So yeah here it is :-)!!! Also, I do now have a few of the things I mentioned above that I didn't, and it does make ALL the difference ;-)! Can't wait to get the rest! Xxx

Marshmallow fondant aka. "MMF"


(More pictures to come)


So I have had a few people ask which fondant i use. I am sure there are plenty of sugarpaste's out there that are great, but the number one question I get when I arrive at a party is "is that sugarpaste?" with a worried look. I then explain to them that it isn't. I make my own cover called marshmallow fondant, or MMF for short. I also explain that it tastes a LOT better than sugarpaste. I get a few doubting glances until the cake has been cut and passed out. I will then get those same doubting people come up to me and agree with me 100%... Marshmallow fondant tastes 10x better than sugarpaste (store bought fondant).


( Så jag har haft en del frågor om vilken sockerpasta jag använder då jag täcker mina tårtor. Jag är säker på att det finns bra sockerpasta där ute som inte jag testat, men den fråga som folk ställer mig mest då jag anländer till en fest med en tårta är "är det där sån där sockerpasta" med ett oroat uttryck.Jag förklarar att det inte är det. Jag gör min egen pasta som heter Marshmallow fondant, eller MMF som förkortning. Jag förklarar även att det smakar MYCKET bättre än sockerpaste. Jag får några tvivlande blickar tills de får smaka på tårtan och då kommer samma gäster upp till mig för att hålla med mig till 100%... Marshmallow fondant smakar 10x bättre än sugarpaste.)

To make this you should really have a tabletop mixer with a dough attachment, like a Kitchenaid or like in my case a bright orange 50 year old Kenwood (they don't build them like they used to) that I got from a charity shop for 100 Swedish kr/ 10 British pounds or approximately 14-15 US dollars. 

(För att göra Marshmallowfondant borde du ha någon typ av köksmaskin med degkrok, som en Kitchenaid eller som i mitt fall en knallorange 50 årig Kenwood som jag köpt på Myrorna för 100 spänn. De bygger dem inte som de gjorde förrut.)


MARSHMALLOWFONDANT - MMF

Ingredients:

450 g Marshmallows
1 kg Icing sugar (Florsocker)
50 g Coconut fat (Kokosfett)
3 Tbsp Water (Vatten)


Add the coconut fat at room temperature or slightly warmer (it needs to be soft to avoid clumps of it in the final product) to the mixing bowl attached to the mixer. Then sift 900 g of the icing sugar a few times to make sure it is clump-free. Add the icing sugar to the same mixing bowl. Then put the marshmallows in a larger glass bowl. add the water to the marshmallows and stir. Put the glass bowl in the microwave for about 1 min to soften, then stir. Put the marshmallows back in for another min and stir again. Repeat this until the marshmallows are completely melted and you can mix it so the water gets incorporated. At this point you can mix in some food coloring if you want your fondant a specific color. After you have mixed in the color I would put it back in the microwave for 10 seconds or so just to make sure it's warm enough to melt the coconut fat.

At this point you add your marshmallow mixture to the mixing bowl and with a dough hook you start the machine. I don't have a cover to prevent the dust from escaping so I take a clean kitchen towl and hold it around the top (just a tip). Let it run for a good long while, pausing it to scrape anything trying to escape. I usually run it for at least 5-10 min total. Then sift out a thick layer of the remaining icing sugar on a clean tabletop and pour your fondant onto it. This is when you start kneading. I say "start" because it takes a bit of kneading to make sure there is no air bubbles or pockets of icing sugar. It's like kneading a bread-dough if you have ever done that. It's that sort of motion. If it gets sticky I dust with a bit of the tabletop icing sugar. I also have a dough-scraper at hand, just in case something gets stuck on the tabletop. Once you have kneaded for a looooong time, you wrap it in clingfilm and let it rest overnight. This is to make sure any small pockets of icing sugar have time to dissolve. In room temperature this Fondant will keep for about 2 weeks and for much longer in the fridge or freezer. I usually make a double batch while I'm at it.


(Klicka i kokosfettet i maskinbunken. Kokosfettet ska vara rumstempererat eller i alla fall mjukt så att det inte blir klumpar i slutprodukten. Sila sedan 900 g av florsockret några gånger för att undvika klumpar. Häll även florsckret i maskinbunken. I en större glasskål blandar du marshmallows och vatten och så värmer du blandningen i mikron i ca 1 min. Sedan tar du ut och rör om. In med den igen i 1 minut till och så rör du om igen. Detta upprepas tills de är helt smälta och du kan blanda i vattnet. Om du vill färga din Fondant lätt så har du nu i lite pastafärg och rör om. Jag brukar sedan ha in den i ytterligare 10 sekunder för att se till att den inte kylt ner för mycket. Blandningen måste kunna smälta kokosfettet. 

Nu Blandar du i marshmallowsblandningen i maskinbunken med degkrok och startar den. Jag har inget lock för att skydda mot stänk så jag brukar ta en ren kökshandduk och håller runt (bara ett tips). Låt maskinen gå ett tag totalt 5-10 minuter. Jag brukar pausa för att skrapa ner allt som försöker fly. Sedan silar du ut resten av florsockret på en ren köksyta, och häller ut din fondant på det sockrade området. Nu börjar du knåda... och du kommer nog knåda ett tag. Detta gör du för att se till att du får bort alla luft- och florsockerfickor. Om du någonsin knådat en bröddeg så är det lite den rörelsen. Blir det kladdigt har du på lite av florsockret från bänken. Jag brukar även ha en degskrapa till hands för att skrapa upp eventuellt kladd från bänken också. Innan Marshmallowfondanten ska användas behöver den helst vila i rumstemperatur över natten. Detta är så att om det finns några fickor av florsocker kvar har de tid att smälta. I rumstemperatur håller den isg i 2 veckor och ännu längre i kylen eller i frysen (har alldrig testat hur långt eftersom jag använt den för snabbt). )


ENJOY.
-J


Princess Barbie Cake - Ellie's 4th Birthday


(Smaller text is swedish translation - Svensk text i kursivt)
The cake - Princess or Barbie Cake


 So once again this entry is almost a year late. Ellie is now almost 5 and looks so different! Insane how fast the time goes. I finally found the cord for my camera to transfer the pictures so I can finally make an entry about this most wonderful day!

(Ännu en gång så skriver jag detta inlägg nästan ett år sent. Ellie är nästan 5 och ser helt annorlunda ut. Helt galet vad snabbt tiden går! Jag har äntligen hittat min kabel till min systemkamera, så nu kommer lite bilder från denna underbara dag.)

We had only lived in sweden for a few months and this is evident in the emptyness of our house. Ellie's room has NOTHING in it. Mainly because this is her bedroom and she has her playroom downstairs. It still looks so sad though. A little girls room should be filled! That's what we planned on doing with her birthday. There was no expense spare on this birthday(or at least in our eyes)! 

(Vi hade bara bott i sveirge i några månader och det märks på hur tomt vårat hus är. I Ellie's rum finns INGET. Mest för att hennes lekrum är på nedervåningen och att hon bara sover här inne. Men det ser ändå tomt ut. Tanken var dock att ändra på detta med hennes födelsedag. Här sparades inte på slantarna till denna födelsedag (vilket är ovanligt för oss)!)

Her main present was a bike, but anything we felt she needed to fill her days with activity we got. we aren't the type to spoil our kids on an everyday basis. Ellie won't just get something  because we would like to get it for her. We usually wait for birthdays and christmas to spoil. 

(Hennes stora present var en cyckel, men vi köpte även allt annat som kunde fylla hennes dag med aktiviteter. Vi är inte de som skämmer bort våra barn i vardagen. Hon fårn inte allt hon pekar på kan man säga. Vi väntar istället på födelsedagar och jul...)

We want her day to be special. And I think this day was great for her. Starting with present opening in the morning....

(Vi ville att hennes dag skulle vara speciell. Och jag tror att denna dagen blev underbar! Den började med presentöppning på morgonen...)


 So the day before I finished as much as I possibly could. Like the cake. Her very lovely princess-cake. It was a white velvet sponge coloured into Ombre shades of pink. It was filled with vanilla Swiss meringue buttercream and raspberry curd and lemon curd. 

(Dagen innan gjorde jag så mycket jag bara kunda så att jag kunde fokusera på Ellie på hennes födelsedag. Jag gjorde t.ex. hennes princess tårta. Det var en White velvet tårtbotten färgad till rosa i olika toner för att få en ombre effekt. Den var fylld med Swiss Merigue buttercream och halloncurd och citroncurd.)

Anyone who has followed what I do when it comes to cakes knows by know that I tend to do the... stupid... the over the top... the time consuming... and this cake was no different. sitting with tweezers putting clusters of 3 sprinkles on the cake... took approximately 2 hours!!!
(Alla som har följt det jag gör vet vid det här laget att jag har en tendens till att göra det som inte behövs.. bara det tar tid och blir detaljerat typ... Jag vet jag är tokig. Även denna gången gjorde jag det. Att sitta med en pincett och sätta fast små strösselkulor en i taget för att skapa en liten samling av 3 pärlor... ja, det tog mig 2 timmar bara det...)

Here are some pictures of The dessert table I made. On the dessert table I had the princess cake (barbie cake), cakepops with the taste of "Ballerina Kladdkaka" (a brand of cookies in sweden) and chocolate balls (Swedish kiddy nobake classic), Chocolate cupcakes filled with lemon curd and with a white chocolate buttercream, Swedish crumbly sugar cookies (drömmar) and vanilla panacotta with lemoncurd topping. I also had a raspberry lemonade as a beverage.
(Här kommer bilderna på dessertbordet jag gjorde för kalaset. PÅ bordet fanns tårtan(naturligtvis), cakepops med smak av ballerina kladdkaka(de rosa) och chokladbollar(de bruna), chokladcupcakes med lemoncurd fyllning och vitchokladfrosting, hemmagjorda drömmar, vaniljpanacotta med lemoncurdtopping och hallon lemonad som dricka.)   


The dessert table - sorry I don't have better pictures!

The Princess cake/Barbie cake

Princess cakepops, Her Highness Cupcakes, Princess cookies


Princess Cakepops  and Raspberry Lemonade

The coveted goodiebags - folded from wrappingpaper!
My first pompoms! Not all that easy to make! Not at all!!

I use "pxlr" to edit my photos, and I used the same program to create the little tags on everything. The names on the goodiebags, and the little tags by each dessert. picked a pink polkadot background that I saved from the internet as a picture. I then edited it with the free shapes and images within the pxlr program. Pxlr is free online. Just do a search in google and I use the express version.

(Jag använder "pxlr" att redigera mina bilder, jag anväänder även det programmet för att göra alla små brickorna du ser på allt. Även namnen på godispåsarna. Jag valde en vit och rosa prickig bakgrund som jag sparade som bild. Sedan redigerade jag den bilden med alla gratis bilder och former som finns i pxlr programmet. Pxlr är gratis på internet, du behövr bara söka i google. Jag använder "express" versionen.)


Her Highness in all her glory :-)!


This was officially the Pink Fluff Party :-D!!!!


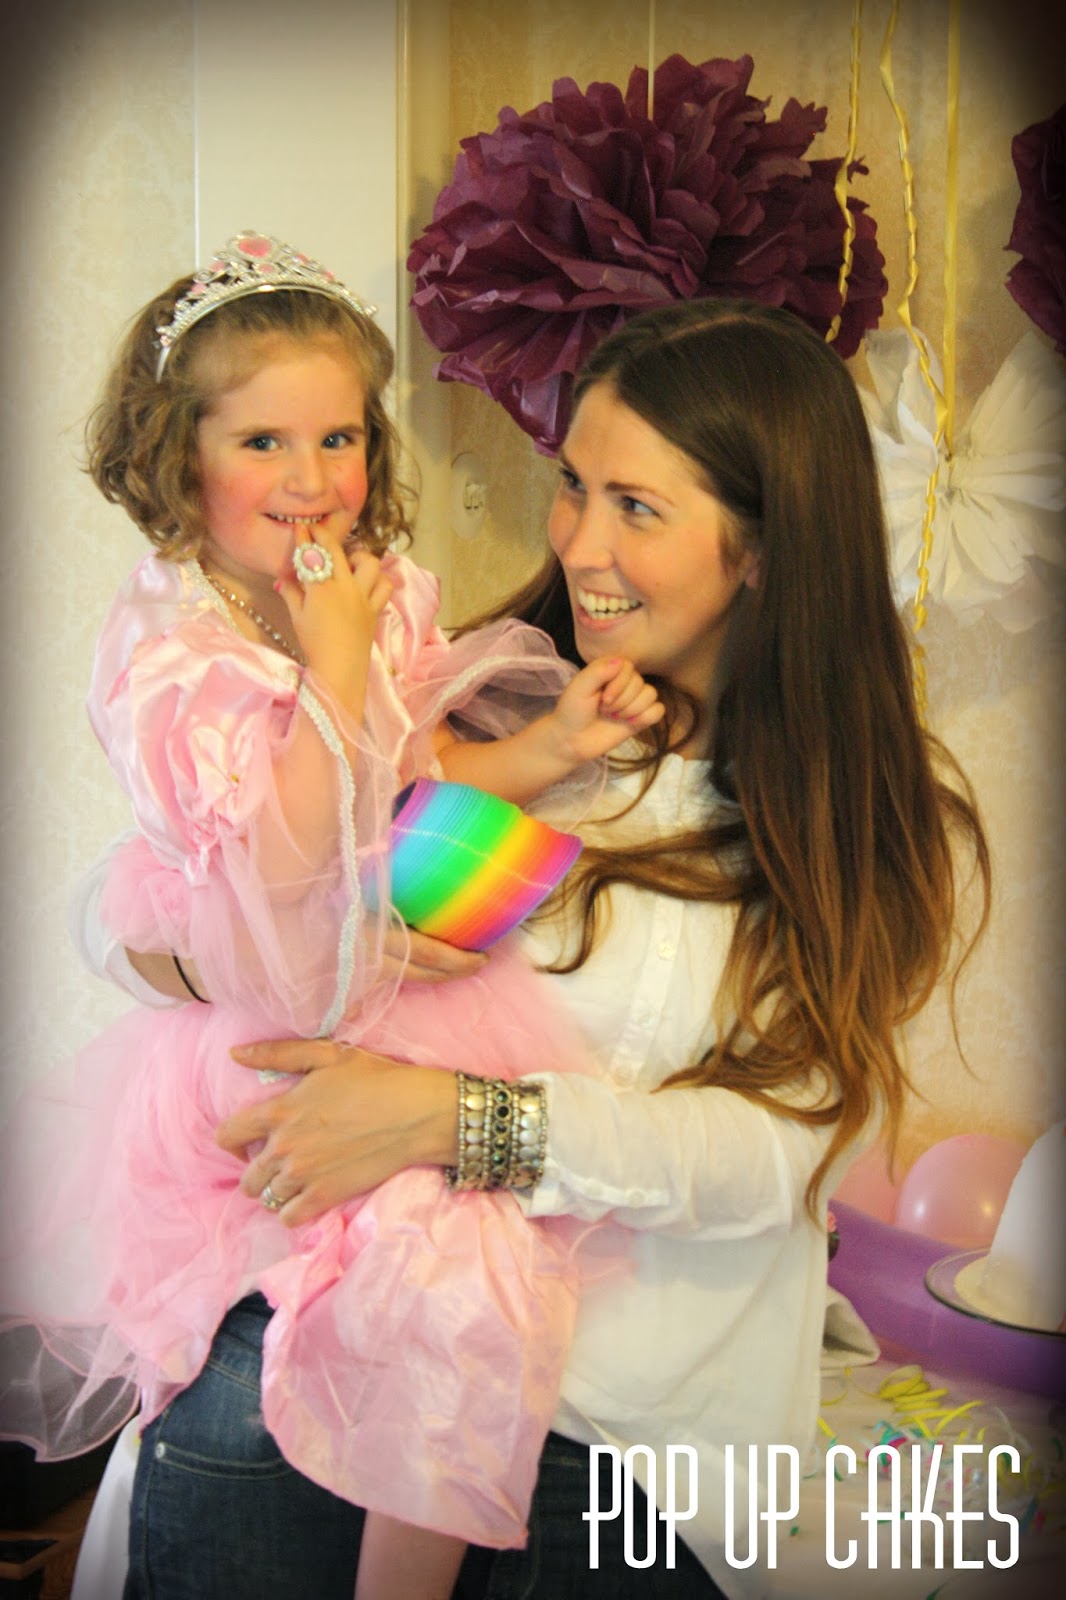
Me and my pink fluffprincess ;-)
Cut opened to give the surprise ombre effect! It gave the awaited "ooo" effect ;-)


Enjoy.
-J